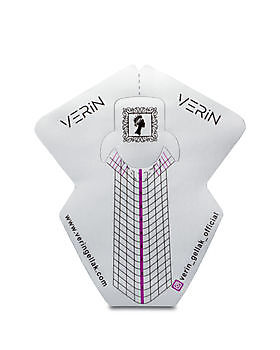
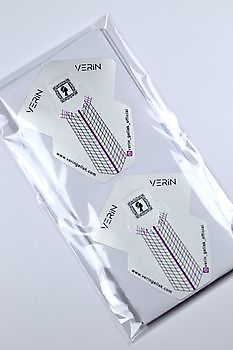
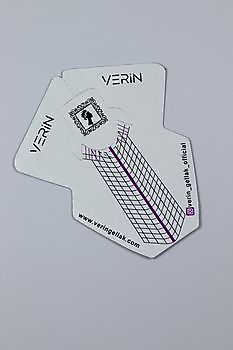
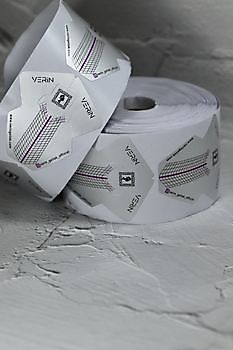
Nailforms Verin
All mentioned prices in our webshop exclude VAT
Product information
If our nailforms are placed correctly under the nail, the nail technician can make the nail in any desired model. Starting with a bright square nail, ending with elongated sharp points. The templates are used in the following steps:
Step 1: Preparing the hands and the nail plate of the natural nail. To do this, the customer\'s hands are treated with a disinfectant, the nails are degreased, polished with a special file of medium grit, covered with a primer and dried.
Step 2: Setting the nailforms to the free edge of the nail plate . To do this, the template is brought under the free edge of the nail and fixed on the finger. It is important that the stencil is placed evenly, without gaps. In case of an unevenness, the material to be used will fall into the gaps and the surface of the artificial nail will turn out to be uneven.
Step3: When the stencils are attached to each nail, the nail technician can start building the nail. When working with stencils, acrylic, gel or polygel are generally used.
When choosing nailforms it is important to take into account the quality of the paper, it should be compact but flexible.
Would you like to see more? Go to the page Webshop.
Also take a look at this:
All mentioned prices in our webshop exclude VAT
The secret of a perfect file
“Perfection without extra effort: the secret of a perfect file! ” Let's face it: a perfect manicure is not only about talent, but also about the tools you use. No matter how good your technique... read more »


